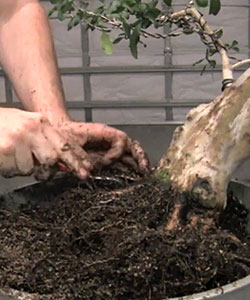
Bonsai should be repotted every few years. The best time of the year for repotting is during spring or early summer when buds are starting to swell.
The frequency of repotting depends on the plant specifications, but the repotting technique is the same.
Flowering apples and cherries should be repotted in early fall. Azaleas and quince should be repotted immediately after they have finished flowering. Bonsai repotting has many advantages.
It improves soil quality because soil breaks down over time. Fresh soil helps to bring more air to the roots of the plant.
The repotting process involves removing old roots making room for new ones, which helps to keep your bonsai small. Bonsai repotting also helps water retention since fresh soil holds water much longer. You can prevent potential pests and diseases by checking roots after removing your bonsai from the pot.
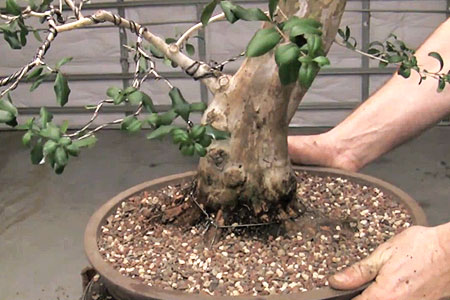
This tree was sitting in the wrong kind of pot. It was too square and too deep. Since the tree has a lot of movement and a lot of curves, it would look better in a round or oval pot.
The rule of thumb is the pot should be only about 20%-30% of the total visual mass of the tree. The width of the pot should be 2/3 of the height of the overall tree. The pot can be compared to the frame of the oil painting, it should always complement the style of the tree.
Items you will need:
- Bonsai Soil – The ideal soil mix differs for deciduous, conifers, and flowering trees. To see what soil is best for your bonsai check the species profile.
Make sure you are using similar soil to the type the bonsai tree was originally developed in. I buy all soil mixes from Bonsai Boy Nursery. This bonsai specialized nursery has the best quality bonsai soil for all kinds of trees.
1. For tropical and subtropical trees use Tropical/Subtropical Mix Bonsai Soil.
2. For conifers use Conifer Mix Bonsai Soil which can be used for outdoor or indoor trees.
3. For all other types use Professional Bonsai Soil.
- New Container – The new container should be clean and dry. Don’t try to reuse the old one because it would not be big enough. Use a larger container that complements your bonsai in size, shape, and color.
- Mesh– You will need a plastic mesh to cover the drainage holes of the bonsai container. Window screen can also be used. I use Drainage Hole Covers from Bonsai Boy Nursery which I bought online.
- Bonsai Wire Cutters – You will need to cut wire with these.
- Shears – Regular shears that will be used to trim long roots.
- Root rake – You will use it to get out the soil of the roots. I prefer a single rake.
- Chopsticks or bamboo sticks – These will be used to pack the soil and get rid of air pockets.
- Wire – Will be used to wire the tree to the new pot.
Here is a step-by-step video
Step 1: Removing the tree
A day before repotting, evenly water the soil, providing good drainage. This will help roots quickly become established in the fresh soil. Remove the tree from the pot and place it in a wide shallow container so you can easily work on the roots.
Step 2: Comb out the roots
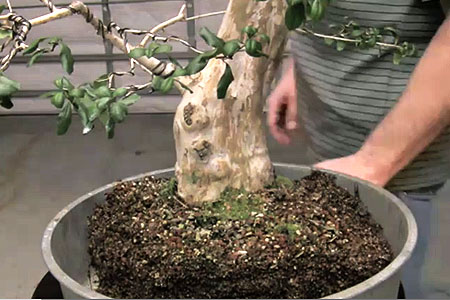
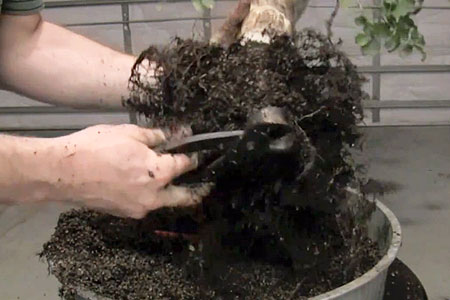
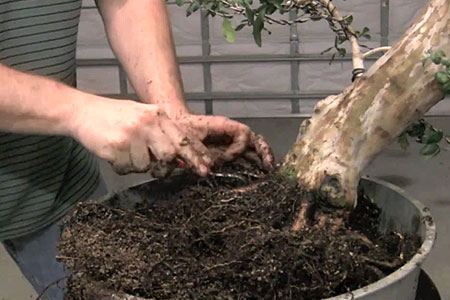
The roots of this tree were never worked on. Use a simple root rake to remove the loose soil from the top. Keep removing it till you hit the large roots. You want to create a new soil line and show some of the beautiful larger roots of the tree.
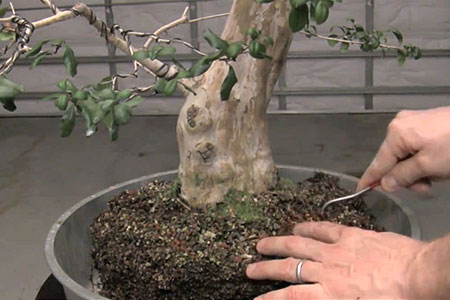
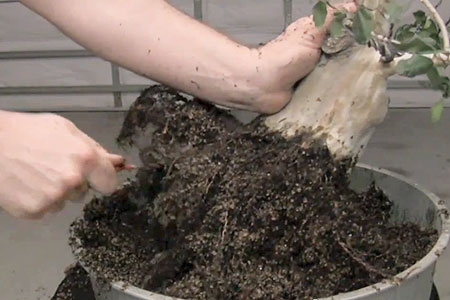
Next, start removing soil from the sides and the bottom. Since you are going to remove a lot of the roots anyway to promote growth, don’t be afraid if you snap a few of them while removing the soil.
Step 3: Root pruning
After removing extra soil from the roots you should have about one-third of the roots exposed. Use a root cutter to prune half of the exposed roots along with old damaged, rotten, or very long roots. Root pruning rejuvenates the tree by bringing the feeding roots closer to the trunk.
Step 4: Preparing the new container
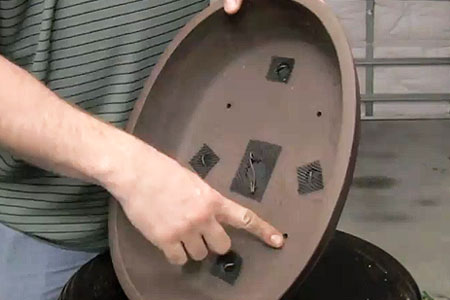
The new container should be soaked in water for a few days and dried before repotting. Cut out a piece of plastic mesh big enough to cover a drainage hole of the container and place it inside of the pot securing it with pieces of plastic-coated wire.
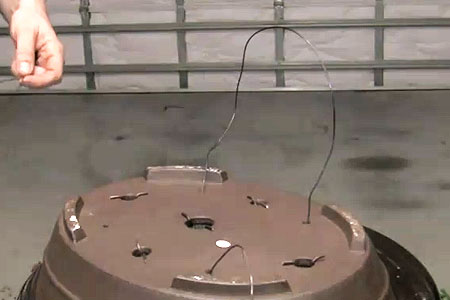
Repeat for each drainage hole. As you can see, this pot has an additional four holes. These holes allow you to wire your tree to the pot. Pull the wire through the holes on both sides of the pot. Place some of the potting mix to the bottom of the pot and place the tree on top.
Step 5: Adding soil
Spread a layer of well-washed pea-shingles or gravel in the bottom. Then add a thin layer of high-quality soil mix. Different bonsai trees need different soil mixes. For tropical and subtropical trees use Tropical/Subtropical Mix Bonsai Soil.
For conifers use Conifer Mix Bonsai Soil, which can be used for outdoor or indoor trees. For all other types use Professional Bonsai Soil. You can also add Lava Rock Granules to the soil mix for better drainage.
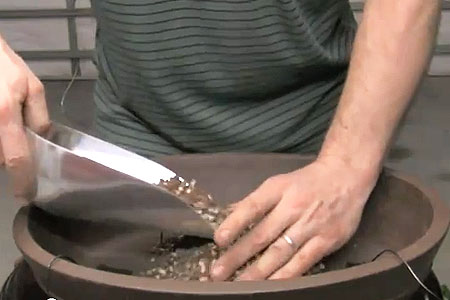
Step 6: Bonsai planting
Place the bonsai in the pot and adjust the soil so the rootball’s top is slightly below the rim. Tie the wires around the roots of the tree to secure the pot. Cut the extra wire with wire cutters and tuck the ends away. Then add the very finest soil within ¼ inch or so from the rim to allow for watering.
Use a compost firmer or a pair of chopsticks to pack the soil so no air pockets are left. You can also sprinkle a thin layer of pea-shingle or use bonsai moss. It will help the soil to stay moist after each watering.
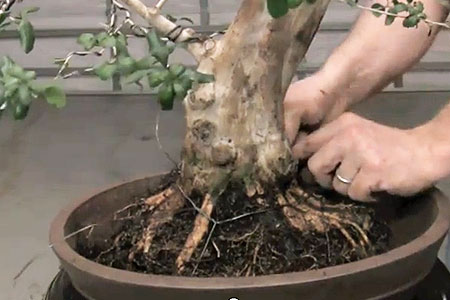
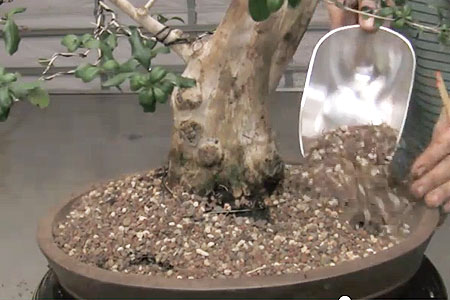
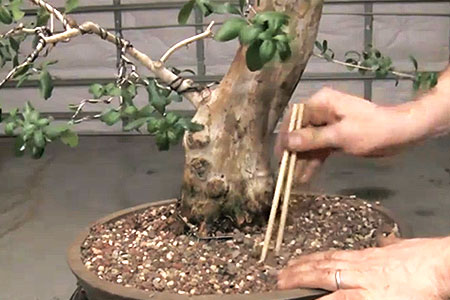
Step 7: Bonsai watering
Water thoroughly and keep the tree protected from wind and sun to prevent moisture from evaporating too quickly. Don’t feed until new growth is well underway.
Related articles:
