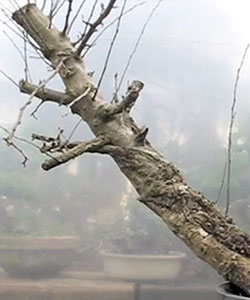
This Crabapple Tree, also known as Malus sargentii, was collected a year ago. In this post, I will show you how to air-layer this tree to create a bonsai.
The air layering technique is one of my favorites because it saves you time and money. You can select the part of the tree that would make the best bonsai composition.
A lot of people think that air layering is difficult, but in fact, it is a very simple technique. The most important thing for successful air layering is TIMING.
The best time for air layering technique is early spring when the buds are just starting to go green and you can see a beginning of the leaf.
Items you will need:
- Sharp knife – You can use any knife. A pocket knife will work great.
- Sphagnum Moss – This is most used by many bonsai masters for air layering. It holds up to 20 times its weight in water.
- Plastic bag
- Tape
Here is a step-by-step video
Step 1: Remove the bark
Select the part of the tree that you would like to use as a bonsai material. Think about what kind of style you can develop from it. Mark the area where you will be removing the bark. You don’t have to go in an exact circle, it can be on an angle. Using a sharp knife, cut the bark and lift it away.
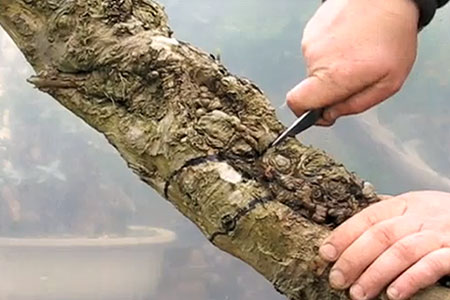
This time of year, the sap begins to rise making it is easy to remove the bark. It will pop up easily leaving nice clean wood underneath.
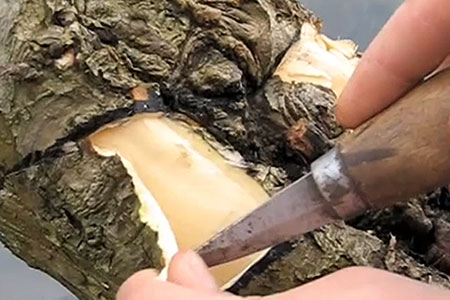
Step 2: Scrape the wood
After you’ve removed the bark, give the wood some scraping to remove the cambium layer. This layer makes the trunk, branches, and roots grow in diameter. It also brings sugars and carbohydrates from the leaves down to the roots.
By removing it, the sugars will build up at the top layer of the bark that remains and create tissues that are needed for root development.
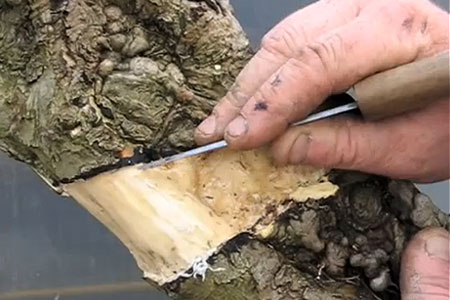
Next, go over the edges of the bark and re-cut it. This will remove any tissues that were damaged or bruised while you were removing the cambium layer. This will expose cells that will root much faster.
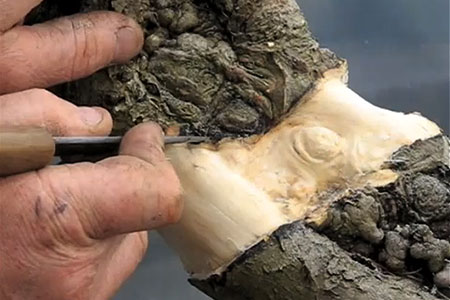
Step 3: Wrap plastic
Wrap lightweight plastic bag around the trunk. It will be used to hold the sphagnum moss which will encourage this tree to root. Secure the bag with a piece of tape at the bottom.
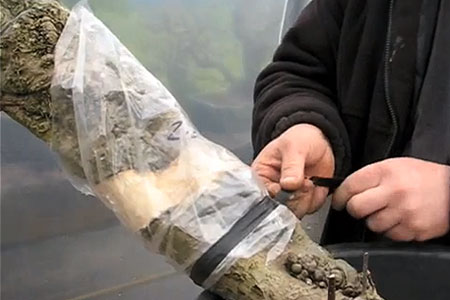
Step 4: Add moss
Sphagnum moss should be soaked in water before application. Make sure it is damp, but not dripping. Pack the bag with moss very tightly. You can also use a foil instead of plastic.
The reason I like plastic more is because you can see when the roots have formed. After you pack the plastic with moss all around the wound, wrap it with more see-through plastic to create pressure against the cut. If there is a void between the moss and the cut, the roots might not develop.
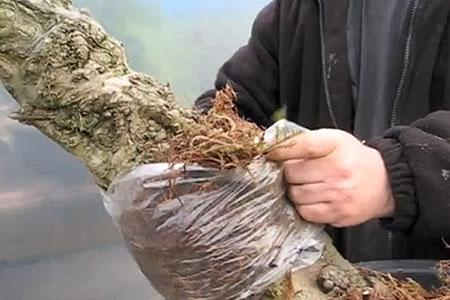
Step 5: Making holes in plastic
Make one or two incisions at the bottom of the plastic. The plastic tends to get very wet from the rain running down the bark into the plastic. If you are not careful, the water will collect inside.
It is important to make a few cuts at the bottom of the plastic to get the water out. Depending on the species, it might take a while for it to root. In that case, you will need to make an incision at the top so you can water the roots through the plastic.
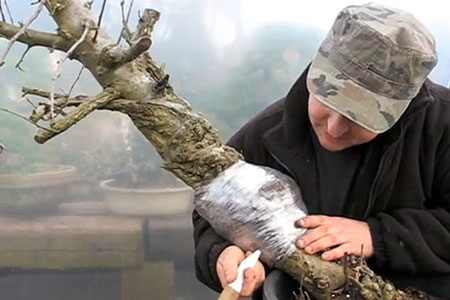
After a while, the cambium layer will start to form at the top of the remaining bark and this will produce new roots.
You will be able to see white root tips as they grow through the moss and come out to the plastic. When you see a lot of white roots, you can remove the plastic and cut the tree with the saw.
Your final step would be planting it into a nursery pot. After a year or two when the tree has been established, you would be able to clean up the roots and repot it the regular way.
Related articles:
