
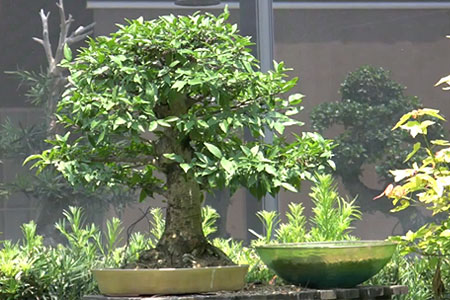
In this post, we will be working on a root-bound Water Jasmine Bonsai, also known as Wrightia religiosa. Root bound is when the roots of the tree are so dense and so full, that are lifting the tree out of the pot and growing out of the holes at the bottom.
Bonsai needs to be repotted and root pruned in order to absorb major and minor elements from the soil mix. If the tree is not root-pruned, it will develop long roots that will take up most of the space in the pot.
Root bounded trees have trouble getting all the nutrients and will start to decline despite perfect growing conditions and good-quality fertilizer. The frequency of repotting and root pruning depends on the species of the tree. Some grow faster and need to be repotted more often than once a year.
The challenge with this root-bound Water Jasmine bonsai is to reduce the roots and get it into a new smaller pot.
Items you will need:
- New bonsai container – We want to repot this plant into a small container.
- Shears – Regular shears that will be used to trim branches and roots.
- Bonsai Wire Cutters – You will need to cut wire with these.
- Root Pruners – You can use this tool to cut trunk knobs and thick woody roots.
- Root Rake – You will use it to get out the soil of the roots. I prefer a single rake.
- Mesh – Will be used to cover holes in the container.
- Wire – Will be used to wire the tree to the new pot.
- Bonsai Soil Mix – This is a great soil mix that has high water absorption, fast draining, and good aeration.
- Electrical Saw – This will be used to cut down the thick woody part of the roots.
Here is a step-by-step video
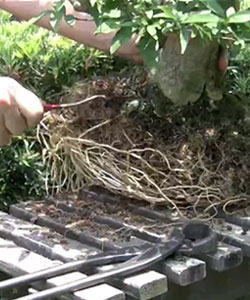
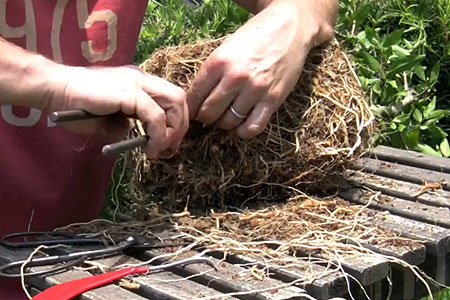
Step 1: Rake the roots

Start by getting the tree out of the pot. As you can see there are a lot of tight long roots that were covering the bottom of the pot. There are so many of them that you can’t even see any soil at the bottom.
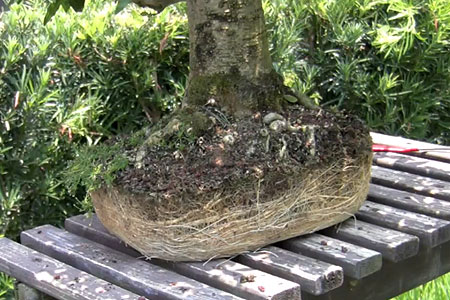
The only soil visible is the soil at the top. In this step, you want to get rid of as much soil as you can and loosen up the roots. Rack the roots using a single root rack. I like the single root rake instead of the double because it slides through much more easily and does less damage.
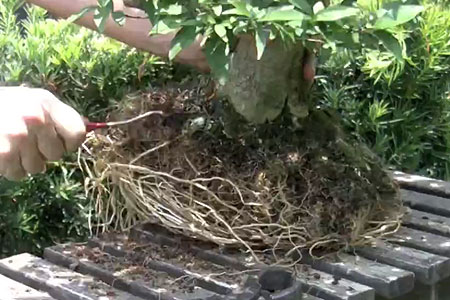
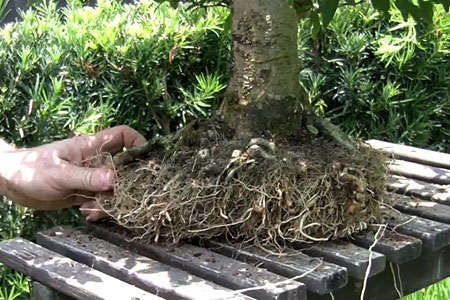
Step 2: Trim the roots
These long roots are just a waste of energy. There are no small feeder roots on them so they don’t provide any food source or water intake. All the feeder roots, that support this tree, are growing close to the trunk.
That means getting rid of the long ones wouldn’t cause any problems. Use shears to remove them. Don’t worry about removing too many, it will promote new root development.
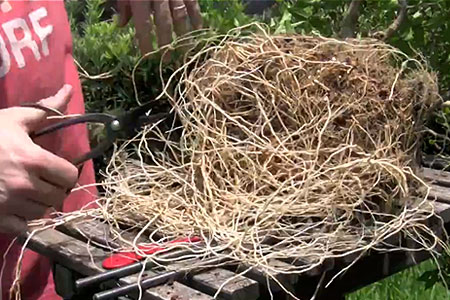
This was an easy task. Now that we are closer to the trunk, it gets much more difficult to take care of the feeder roots. Use a root rake to comb the feeder roots at the bottom of the tree.
They will need to be also reduced in order to fit into the new pot. While trimming, you will find chunky thick pieces that are hard to remove with shears. Use root pruners to trim large masses.
The good thing is that a new pot is much wider than the old one, therefore there shouldn’t be a problem fitting the tree in front to back.
The only concern at this point is the depth of the new pot. It is not as deep as the old one, so you will need to reduce roots as much as possible. All you want to be left with are small feeder roots. The tree will be sitting 4 inches lower than it was.
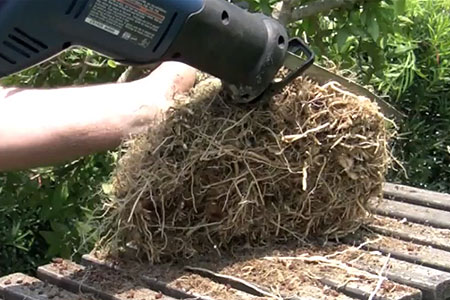
Step 3: Using an electrical saw
After trimming and combing as much as possible, as you can see we are still left with a big woody mass that is too big to fit into the pot. Since this tree has very aggressive roots, you will need to use an electrical saw to flatten it.
Take out about 2 inches of the mass. You can’t use the electrical saw on any kind of tree. It works with tropicals like Ficus, Jasmine, etc. It is not going to work on trees like Elm.
Step 4: Prepare a new container
Cut the mesh to cover the holes at the bottom of the new pot. Secure it with a wire. Next, run 4 the wire through the wire holes at the bottom of the container.
Step 5: Plant the tree
Add some soil mix to the bottom. Place the tree in and wire it into the pot. As the roots grow, wires will hold the tree in place making sure it is not lifted out of the pot.
Instead, new roots will fill the empty space. The wiring should be done below the soil line so you can see it. Next, add the soil and get rid of the air pockets.
Related articles: